[Staging] Quill Lessons | Free Group Writing Activities

Quill Lessons

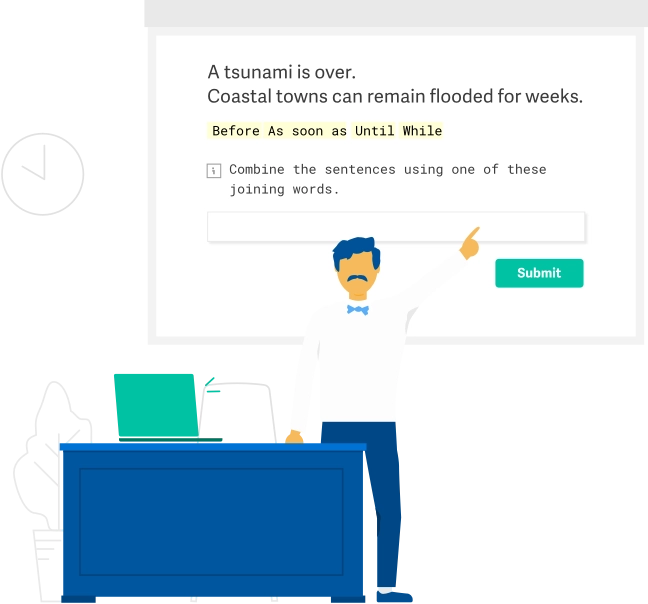
The Quill Lessons tool enables teachers to lead whole-class and small-group writing instruction. Teachers control interactive slides that contain writing prompts, and the entire class responds to each prompt. Each Quill Lessons activity provides a lesson plan, writing prompts, discussion topics, and a follow up independent practice activity.
Try a sample activity
lessons image

Class-Wide Interactive Activities

Quill Lessons provides a series of interactive slides which allow an entire class to work together with their teacher. The slides contain interactive writing prompts, and your students will write their answers on their devices. Teachers can then project selected answers back to the class to facilitate a discussion.
lessons image

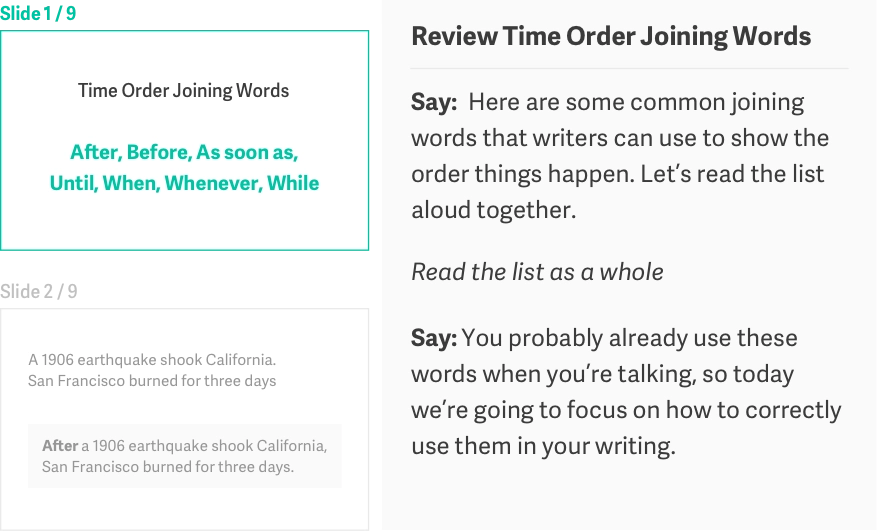
Lead The Lesson

Each slide contains a step-by-step guide to help you introduce new writing skills and content topics. The step-by-step guide also includes suggestions on how to discuss students’ answers and how to model strong writing to them.
lessons image

Discuss Student Answers

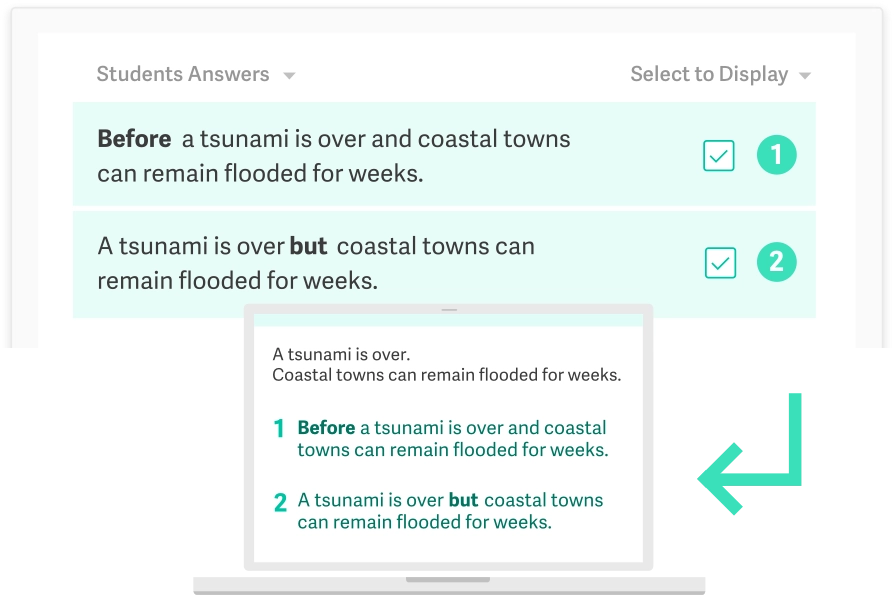
See your student answers in real-time, and facilitate a conversation by selecting both strong and weak answers to project to the class. As a class, students can discuss why certain sentences are stronger than others.
lessons image

Identify Students For Small Group

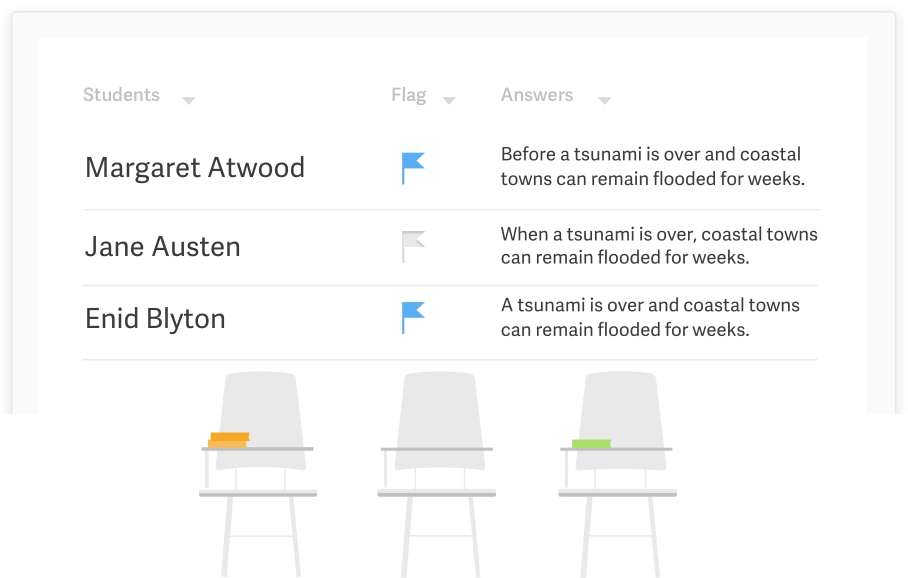
When the students respond, you can click on the “flag” button to select students who may need extra support. Students don’t see that they are flagged, but at the end of the lesson, you can pull aside flagged students for small group instruction.

lessons image

Class-Wide Interactive Activities

Quill Lessons provides a series of interactive slides which allow an entire class to work together with their teacher. The slides contain interactive writing prompts, and your students will write their answers on their devices. Teachers can then project selected answers back to the class to facilitate a discussion.

lessons image

Lead The Lesson

Each slide contains a step-by-step guide to help you introduce new writing skills and content topics. The step-by-step guide also includes suggestions on how to discuss students’ answers and how to model strong writing to them.

lessons image

Discuss Student Answers

See your student answers in real-time, and facilitate a conversation by selecting both strong and weak answers to project to the class. As a class, students can discuss why certain sentences are stronger than others.

lessons image

Identify Students For Small Group

When the students respond, you can click on the “flag” button to select students who may need extra support. Students don’t see that they are flagged, but at the end of the lesson, you can pull aside flagged students for small group instruction.

Try It Out for Yourself

Preview the Lessons

"The kids LOVED seeing their responses come up live as we went through the lesson. Eighth-grade students were literally begging me to project their answers or asking me to allow them to resubmit an answer because they'd just gotten a better idea from another students example. An excited class learning grammar from each other, now that's a good day in ELA class! I can't wait till Friday to do it again."

Kim Hinderlie, Elma Middle School

View My Story

Questions and Answers

Lessons are intended to take about 20-30 minutes to complete. The length of time depends on how long you choose to spend discussing each answer. While in most cases five minutes is enough, teachers may want to facilitate a longer conversation.

To end a lesson early, press the “Start Practice Mode” button or “End Session” button in the toolbar at any time. To continue a lesson with a selected group of students, you can assign other students to start independent practice while keeping the lesson open for your group.

If you need to abbreviate your time on Quill, you can complete a lesson at any point, and wait to assign the follow up activity until another time.

You can also use the flagging features to privately select students for extra support. If a student’s response requires intervention, you can click on the flag next to their answer, and they will show up in a list for you at the end of the lesson. At this point all other students can begin the independent practice while you work with a small group.

Yes, the slides and the step-by-step guide are a starting point to introduce these concepts to your learners. You can customize the lessons for your learners by editing all of the prompts and questions. Within each lesson, you can also skip slides by selecting a new slide from the preview section.

Coming soon: You will soon be able to create your own Lessons using the Quill interface! Keep an eye out for updates about this release.

After you have launched a lesson, click on the “Launch Projector” icon in the navigation bar at the top. This will open a new window with student facing slides only. In order to ensure that the projector does NOT mirror your screen or show students the teacher notes:

For PC:

  1. Go to Control Panel or right-click on your desktop.
  2. Choose Display Settings.
  3. In the Multiple Display dropdown, select Extend Desktop to This Display.

For Mac:

  1. Go to System Preferences.
  2. Go to Displays.
  3. Next, select the Arrangement tab.
  4. Uncheck Mirror Displays.

Once you have unmirrored your screen from the projector, you can move the student slide window to the projector so the class could see it. You will be able to control what the students see and the projector slide from your teacher view.

We know that every interactive projector works in different ways. If your setup does not support writing in a browser, you can download the chrome extension Web Paint, and use that to interact with a Quill lesson.

We suggest that you project 2-3 student responses to allow for discussion. More than four responses might not all fit on the screen, and will require scrolling on the part of the students. If you want to discuss more than four answers, try projecting 2-3 options to start. Then deselect those answers and choose another set to continue the conversation.

Have questions about getting started?

If you are still not sure where to start with Quill Lessons, read the How To guide to see the step by step details to set up your first lesson.

Read How To Guide

Sign up to start using Quill Lessons in your class today!

Sign Up